
Can Florida Condo Insurance Exclude Water Damage?
February 16, 2023
Fire Damage — How to Reduce the Impact on Your Valuable Assets
March 6, 2023This guide will walk you through the process of DIY drywall repair. The damage water can cause isn’t merely about peeling paint or staining. Drywall, in particular, is susceptible to significant damage that needs repair as soon as possible.
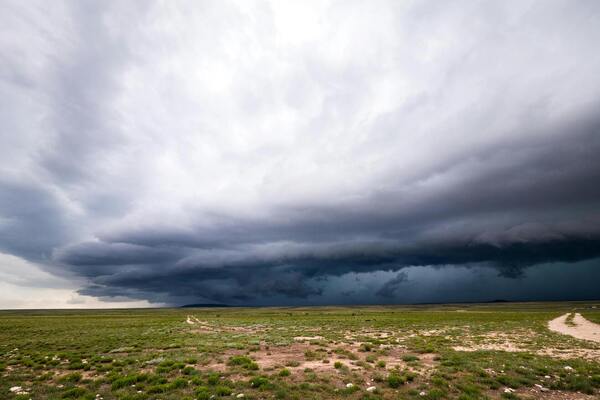
Whether it’s a burst pipe, leaky roof, or broken appliance, water seeps everywhere. The damage can be extensive for cryptic leaks that occur unknown to homeowners for days, weeks, or months. Learning how to repair water-damaged drywall is a cost-saving skill for those with the right DIY expertise and drywall tools.
Find out how to repair water-damaged drywall yourself right here!

Identifying Drywall Water Damage
The sooner you identify drywall damage, the more you can prevent it from escalating. Look for the following signs to confirm it’s happening:
- Bubbling or buckling of the wall. If the wall appears as if it could cave in, serious water damage has occurred.
- Staining or dark patches are a tell-tale sign of water damage. You may see a damp patch where there was no water before.
- Peeling or bubbling paint is one of the earliest signs of water damage in drywall.
- Mold or mildew growth causes discoloration, particularly when a water leak occurs above a room. Mold growth can also cause breathing difficulties. If you notice an increase in chest infections or shortness of breath, look for a potential mold source.
Causes of Drywall Water Damage
Water damage on the drywall can occur from multiple sources. Once you’ve identified the presence of damage, you should look for these likely causes:
- Roof leaks – Leaking roofing or shingles is a common cause of drywall water damage.
- Pooling rainwater – Water could be pooling if your home has a flat roof – or a gulley between gables.
- Faulty plumbing – Burst pipes or leaking faucets are another probable cause of water damage.
- Moisture buildup. Where homes cannot allow moisture to escape, it will likely build up. Check attics, wall spaces, and the roof to identify the source.
- Broken appliances. HVAC units, washers, and more can also cause significant leaks if broken.
If you identify any other of these sources, you’ll want to complete a thorough evaluation of your home to identify all sources of water damage. In many instances, seemingly unaffected drywall can be completely rotted.

How To DIY Water Damage Drywall Repair
If you find water-damaged drywall, don’t panic. Consider hiring a professional water damage restoration service if you’re uncomfortable repairing the damage yourself. Otherwise, here are the key steps you need to follow:
Stop The Leak
The first step is to identify the source of the problem. That can mean cutting through the drywall to find a leaking pipe or heading into the attic. Wherever the leak is, you will need to take urgent action before starting repairs. Applying a drywall patch, if possible and turning the water off is a quick way to narrow the source down to pipes and fittings.
Speak to an expert if you cannot identify the leak’s source.
Determine The Scale of The Damage
Assess how much of the drywall (and adjacent structures) are affected. While it’s easy to downplay it, drywall is highly susceptible to water damage. Because it is very porous, any prolonged exposure to moisture can lead to a rapid loss of structural integrity.
Take notes as you go – even marking affected sections – so you remember what does and does not need replacing.
Clear And Wash the Affected Area
Prior to replacing sagging drywall, remove any loose items, e.g., mirrors, pictures, or furniture. Next, thoroughly wash down the affected area to remove any visible stains. Once the area has dried, you can begin installing the new drywall.
Remove And Replace Sagging Drywall
Removing water-damaged drywall is a relatively simple process. Cut a neat section of drywall out – completely encompassing the damaged area. Leave a significant margin of several inches around the damage to ensure all damaged sections are removed.
Allow the hole to dry completely – use blowers and dehumidifiers to speed up the process. Prepare the new piece of drywall and fit it into place. Once you’ve slotted the new section, secure it with drywall clips. Blend in the new piece with drywall tape and joint compound, then sand the area to ensure it’s completely smooth.
Finally, paint the wall with primer to seal the area. For the drywall finishing touches, you can paint the entire wall to ensure it’s a uniform color once dried.
Deal With Any Mold
Being porous, drywall is a favorite location for mold. Scrubbing the wall with a diluted bleach solution can kill mold without damaging the underlying drywall. Chlorine bleach, in particular, will remove all traces of mold within one to two days. It can also help remove minor water stains.
Treating the mold should only occur if the drywall is not sagging or buckling. Otherwise, follow step 4.
Cover Water Stains
Water-damaged drywalls always have stain marks like it does on ceilings. You can remove superficial water stains using a paint scraper. Once the affected area is removed, use sandpaper until the wall is smooth – gradually decreasing the grit. Finally, apply primer to the affected area and paint the entire wall.

Call a professional
Such minor repairs are relatively simple for most homeowners. All you need is paint, primer, and sandpaper. However, for larger repairs, you can always call a professional to do your water damage restoration.
United Restoration is trusted in repairing water-damaged homes. Our quick and efficient service will identify the scale of the damage and perform the necessary repairs for an affordable price. Our expert team is available 24/7 to respond immediately to water damage and disaster emergencies.
Contact us here or call (844) 979-8500 for a quick response or further information about our service. We’re ready to help!


